Buttons
Hog Splitter Pro consists of a controller unit fitted securely into a 3D-printed housing. All buttons are built into the controller unit.
| Control | Photo | Typical location / use |
| Split button | 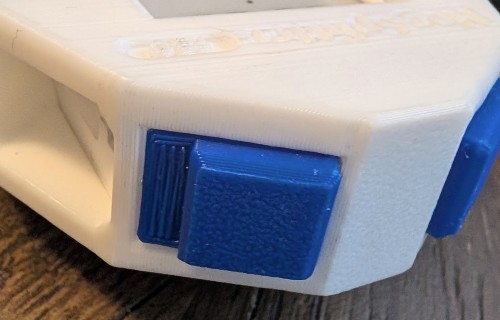 | Top edge. Registers a split; in settings, confirms and exits. |
| Wheel-push | 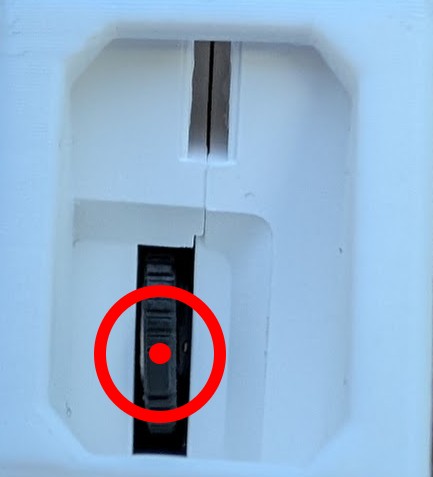 |
Press the scroll wheel straight in (use a small finger). Opens settings (main screen); in settings, moves to the next page.
|
| Wheel-up | 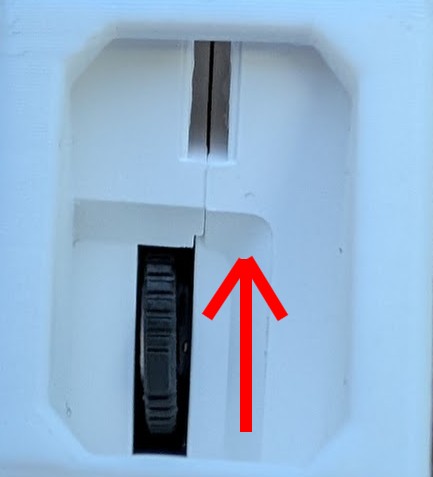 | Rock wheel upward. In settings, increases the current value. |
| Wheel-down | 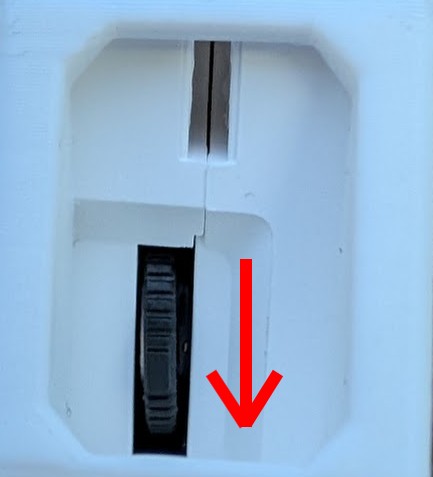 | Rock wheel downward. In settings, decreases the current value. |
| Power button | 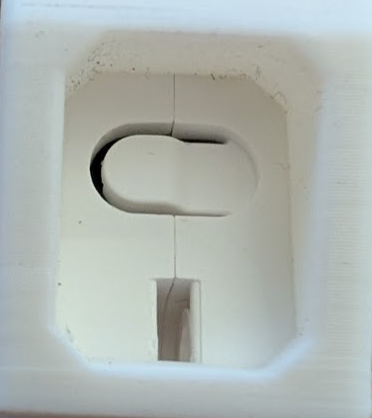 | On the side. Press to power on or to turn off from the main screen. |
| Reset button | 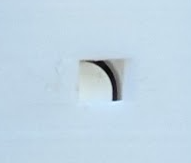 |
Small recessed button; press with a pin for a full reboot (see Power on, off & reset).
|
Assembly & housing
Removing the timer control unit from the 3D-printed housing
- Insert a sturdy string (a shoelace works well) through the holes at the bottom of the unit.
-
Pry the locking tab back, just enough for the control unit to clear it, while pulling hard with the string, applying even force straight out of the housing.
The housing is friction-fit and can be difficult to remove.
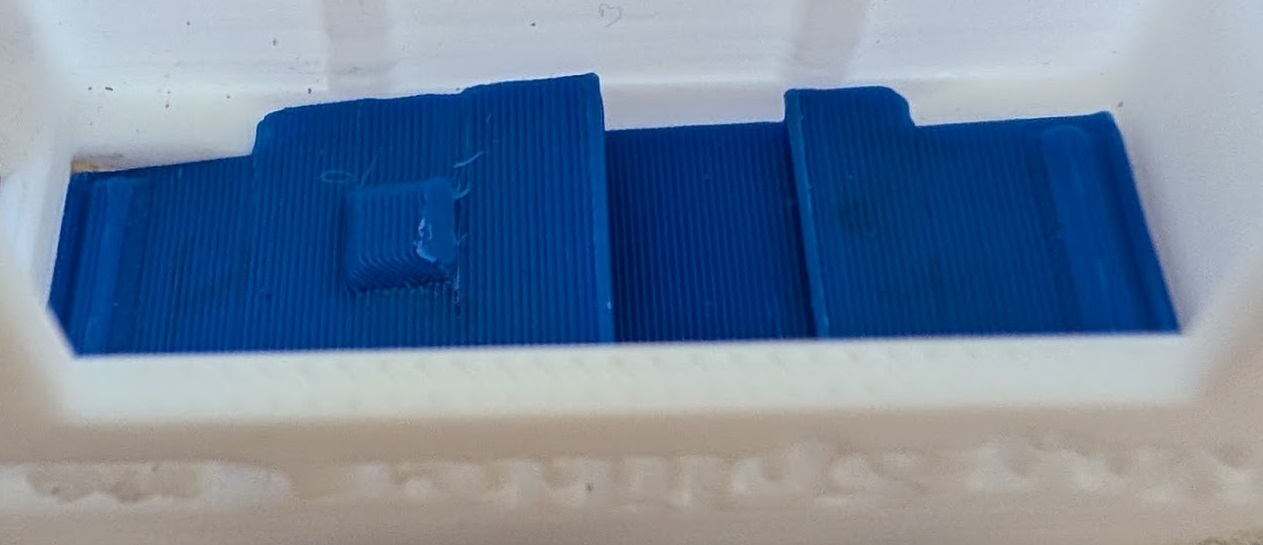
Re-assembling the Hog Splitter Pro
-
Insert the button pieces as shown. The orientation and layering must be correct or the buttons will not work.
-
Insert the timer module into the housing, taking care to use the correct orientation and without disturbing the
buttons. When fully inserted, you will hear a click as the locking tab moves into place.
Power on, off & reset
Power on
Press the Power button. The e-paper display starts updating after a short moment while the Hog
Splitter Pro boots.
Power off
From the main timer screen, press the Power button. The Hog Splitter Pro shows a power-off
screen, then shuts down.
Power Off
Press PWR to wake
Power-off screen
Reset
If the Hog Splitter Pro ever misbehaves, use a pin to press the reset button. That forces a full
reboot, as if power had been removed.
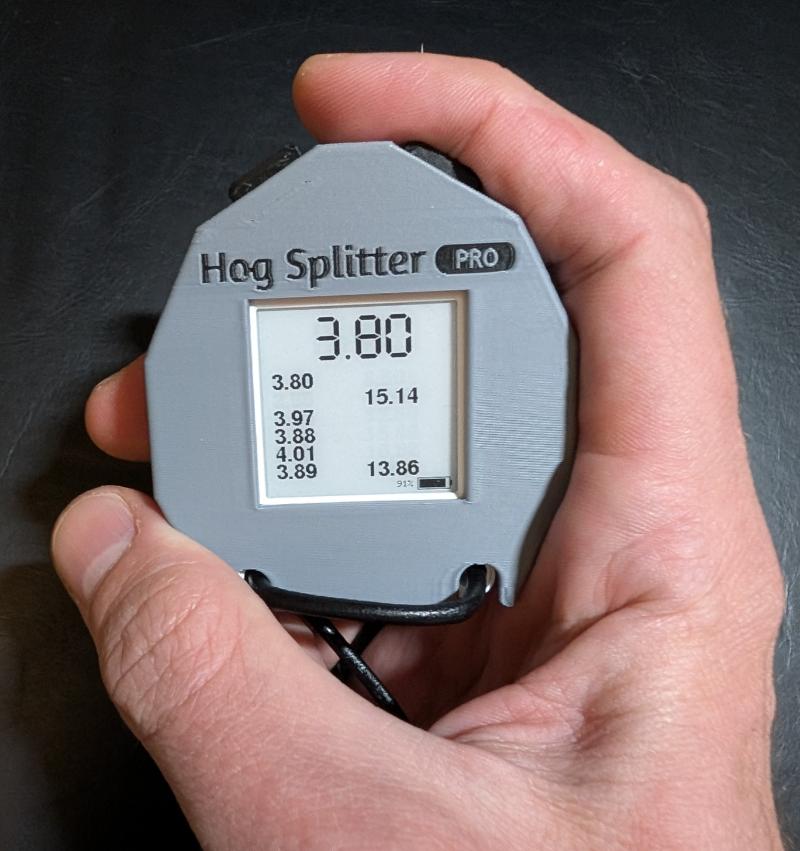
Taking splits & reading the display
Main readout
Each press of the Split button records a timestamp. The large digits show the elapsed time in
seconds between the last two splits. Decimal places for this readout are set in
Settings → Main timer precision (tenths, hundredths, or thousandths). There is
no separate “reset” for the interval: the next split always defines a new interval versus the previous press.
12.34
2.408.103.15——9.884.02—————
72%
Example main screen
Long intervals
- Over 59 seconds between splits: the large display shows a dashed placeholder (“too long”).
- Over 20 seconds: the interval is not added to scrollable history (the large
readout still updates until the rules above apply).
History columns
The Hog Splitter Pro remembers up to ten intervals in history; how many rows you see depends on the
Font size setting. How many decimal places appear in each history value is set separately under
History precision (tenths, hundredths, or thousandths)—independent of the main timer.
- Small — 9 rows visible
- Medium — 6 rows (default)
- Large — 3 rows
-
Times under 5.5 seconds go in the left column as a new row (or start a new
paired row).
-
Times 5.5 seconds or greater (but still ≤ 20 s for history) go in the right
column. If the previous row has a left value waiting for a partner, the new time fills that row’s right cell;
otherwise it starts a new row with only the right cell filled.
This lets you pair a “short” and “long” hog line time for the same shot on one history row when they are entered
in that order.
Physical Split buttons
The 3D-printed housing has two top split buttons. Either can split: both actuate a plunger to the same button on the timer
controller unit. A lever mechanism within the buttons is designed to redirect force from the left plunger to the controller
button, which is located under the right-side plunger. Because of this, the left button may require slightly more
force to actuate compared to the right button.
Idle & auto shutoff
Main timer idle clearing
If there has been no Split button activity for about one minute, the large elapsed display clears
to a dashed placeholder (history is not erased). The next split starts fresh timing from that press.
After idle clear: dashed main readout; history still shows prior runs.
Auto shutoff
In Settings, Auto-shutoff can be set to disabled or to 10 / 15 / 20 / 30 minutes
of inactivity. Button activity resets the idle period. After this period of inactivity, the device turns itself
off.
Settings
From the main timer screen (not in special boot modes):
- Press Wheel-push to open settings. The first page is Auto-shutoff.
- Wheel-push again cycles pages: Auto-shutoff → Tone volume → Tone pitch → Tone duration → Main
timer precision → History precision → Font size → About → (wraps to Auto-shutoff).
- Wheel-up / Wheel-down adjust the current page’s value; on tone-related pages,
changes are previewed.
- Split button saves all settings and returns to the main timer screen.
Setting reference
- Auto-shutoff — Disabled, 10 / 15 / 20 / 30 minutes.
- Tone volume — Off or five stepped levels (maximum drive is capped to reduce distortion).
- Tone pitch — Five preset frequencies.
- Tone duration — Five preset lengths.
- Main timer precision — Tenths, hundredths, or thousandths of a second for the
large elapsed readout only (and for the dashed placeholders when idle or “too long”).
- History precision — Tenths, hundredths, or thousandths for numbers in the history columns
only (independent of the main timer).
- Font size — Small (9 history rows), Medium (6), Large (3).
- About Hog Splitter Pro — Title on two lines; use Wheel-up or
Wheel-down to open the detail screen with version, credit, and product URL.
Wheel-push returns from the detail to the About page.
Hog Splitter ProVersion 1.0
Developed by
Trevor Gau
https://hogsplitter.pro
About screen
Battery & charging
- Use a standard USB-C source; 1 A adapters are typically sufficient.
- Charge time can be on the order of a few hours from empty.
- A charging indicator may light while the battery is charging.
- Plugging in USB may power the Hog Splitter Pro even when it appears off.
Battery percentage — The on-screen percentage is derived from voltage estimates on this
hardware. It can lag until the next full screen refresh, and it may jump or briefly rise when not on
charger because of measurement noise and load changes. For critical sessions, start from a
full charge shortly before play.
Questions / comments / issues
Contact Trevor Gau.
Email: info@hogsplitter.pro
Web: hogsplitter.pro